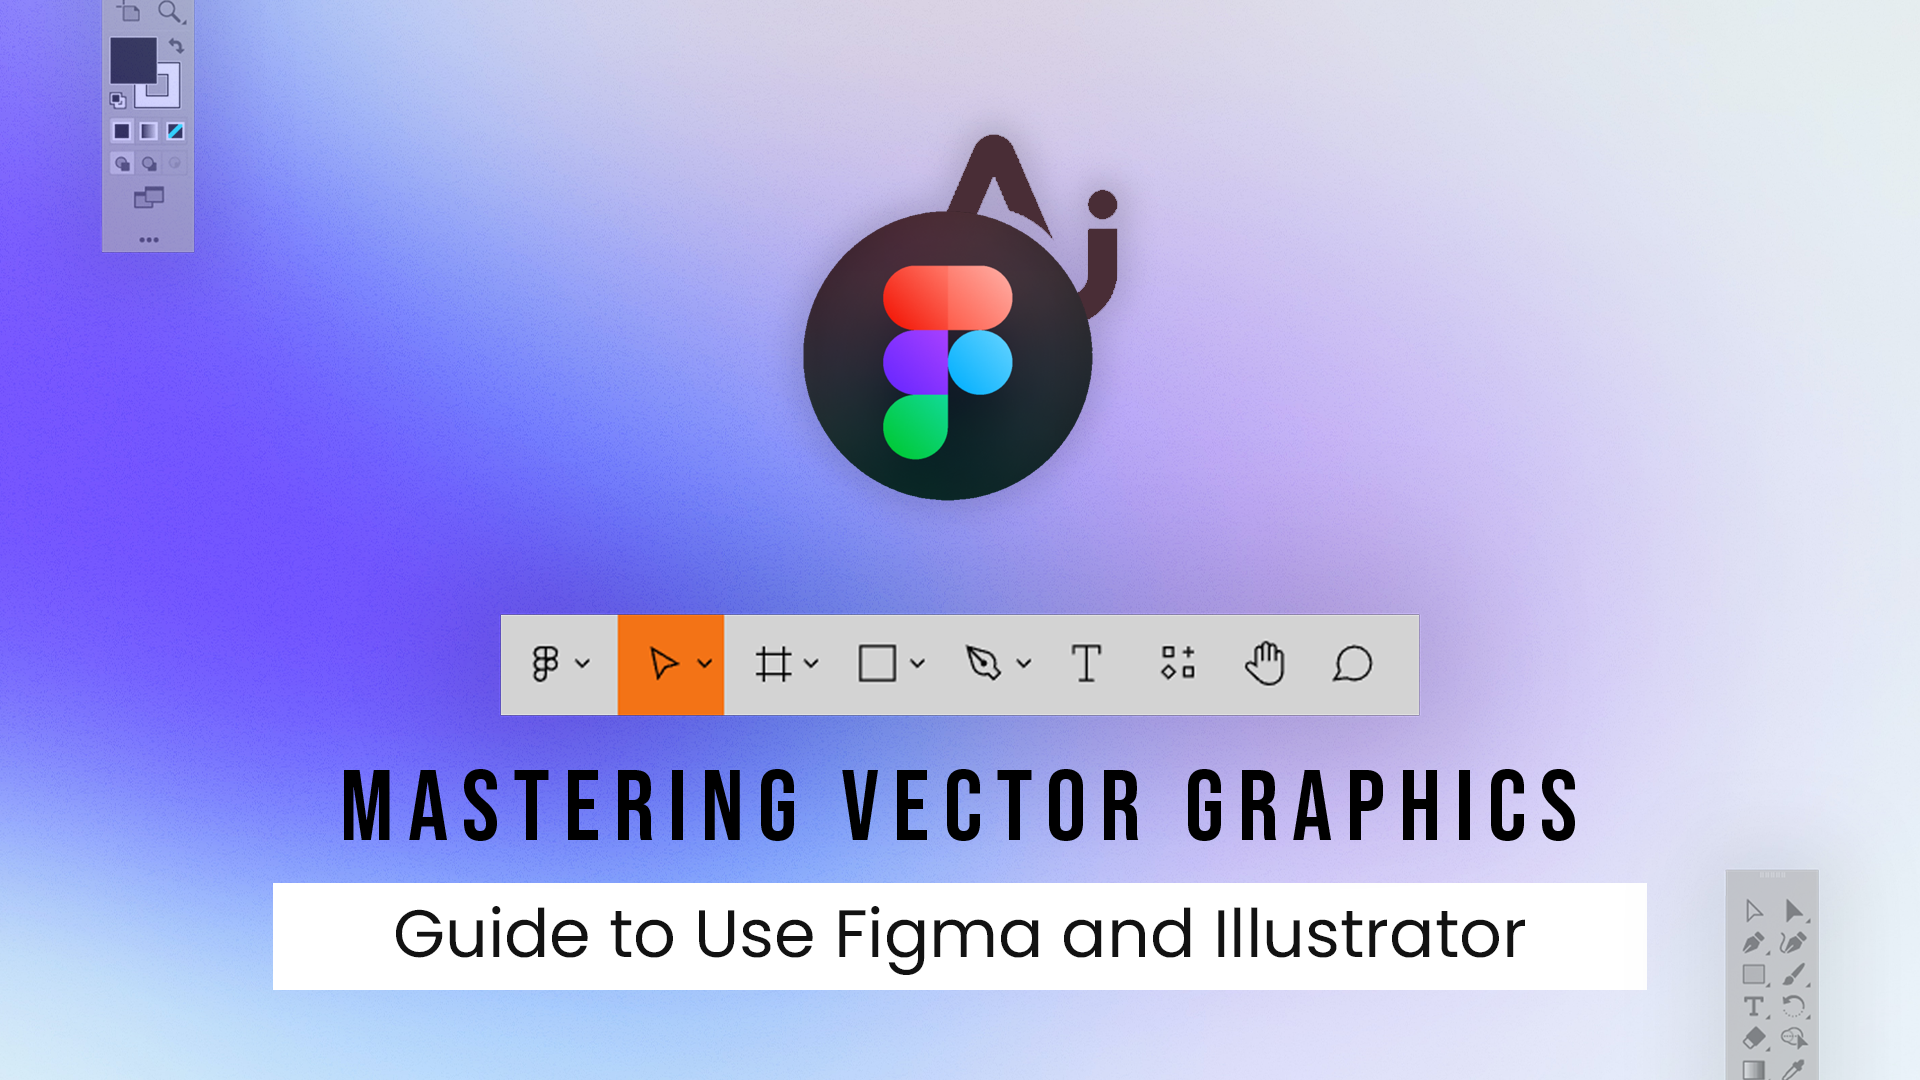
Vector graphics are the backbone of modern design, and mastering tools like Figma and Illustrator is essential for creating stunning visuals. In this comprehensive guide, we’ll explore the world of vector graphics and show you how to leverage Figma and Illustrator to their full potential.
What Are Vector Graphics?
Before we dive into the tools, let’s understand what vector graphics are. Unlike raster images, vector graphics use mathematical equations to define shapes, making them infinitely scalable without losing quality. This property is invaluable in design.
Why Choose Figma and Illustrator?
Figma and Illustrator are both powerful vector design tools, but each has its unique strengths. Let’s compare the two to help you decide which one suits your needs best.
Figma: The Collaborative Powerhouse
Figma excels in collaborative design. It’s cloud-based, allowing multiple designers to work in real-time on the same project, making it ideal for teams and remote work.
Illustrator: The Adobe Classic
Adobe Illustrator is a veteran in the design world. It offers an extensive set of tools for precision design work and illustration, making it a top choice for professional designers.
Tips for Creating Vector Graphics
Now, let’s delve into the tips and tricks for creating vector graphics using Figma and Illustrator. We’ll cover essential techniques for both platforms.
Figma Tips
- Layers and Organization: Utilize Figma’s robust layer management to keep your designs organized. Name layers and use frames effectively.
- Vector Editing: Master the vector editing tools like the Pen tool and Boolean operations to create complex shapes.
- Styles and Components: Save time by creating reusable styles and components for consistent designs.
- Keyboard Shortcuts: Learn keyboard shortcuts to speed up your workflow.
Illustrator Tips
- Pathfinder Tools: Explore Illustrator’s Pathfinder panel for creating intricate shapes by combining and subtracting basic ones.
- Global Color Swatches: Use global color swatches to ensure consistency throughout your designs.
- Artboards: Create multiple artboards in a single document to work on different iterations or projects simultaneously.
- Pen Tool Precision: The Pen tool is a cornerstone in Illustrator. Master it for precise control over your vectors.
Combining Figma and Illustrator
You can use both tools in tandem for the best of both worlds. Design in Figma for collaboration and then export to Illustrator for detailed refinements.
Wanna know more about using both tools together click here
Conclusion
Mastering vector graphics with Figma and Illustrator requires practice and continuous learning. Experiment with different tools and techniques to find what works best for your projects. Both tools have their unique strengths, and by using them effectively, you can create outstanding vector graphics for any purpose.
Whether you’re a beginner or an experienced designer, these tips will help you harness the full potential of Figma and Illustrator, and create exceptional vector graphics.